Archiving has become an important tool, with the businesses moving towards a more electronic and digital world, you will have noticed more emails are being sent out regularly. These emails include junk and important email documents. It becomes overwhelming trying to organize, what to keep and what to delete. Like a physical mailbox, you can only fit a certain amount inside the mailbox until it the mail is sent back to the original sender (Bounce Backs)
It will reach a boiling point, where you are unsure which emails to keep and which emails to delete. This can become a problem just like a physical mailbox – once it reaches its allocated capacity you will no longer be able to receive any more emails, the email will then be sent back to the original recipient. The recipient will receive the bounce-back message we all know and love.
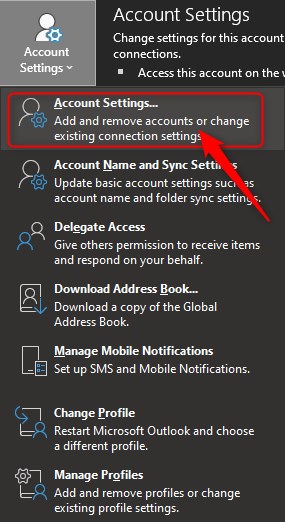
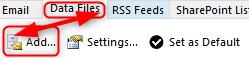
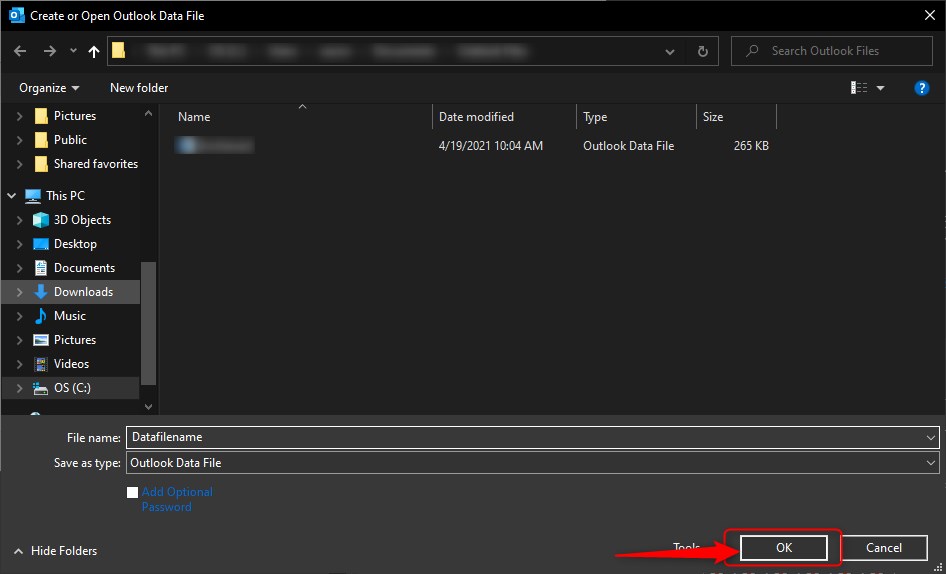
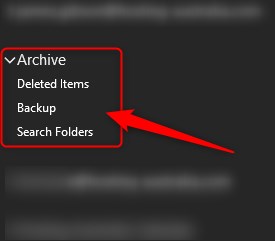
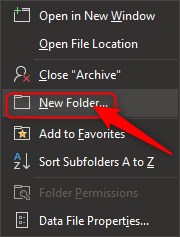
Before you find that your mailbox reaches capacity, you can simply archive messages by copying them to an offline location on your computer to prevent this issue in the future. This sounds like it could be a bit tricky, but it is quite easy and only takes a few minutes to set it up. This will free up lots of space within your mailbox without permanently deleting those old emails and can even speed up your email systems synchronization with the email server.