For many website visitors, a 404 error is the first (and last) impression of your website. Visitors will judge the site based on their experience with the broken link. If you’re putting serious effort into your website and its content, it’s not worth risking that someone will have a terrible time trying to find what they are looking for because of a simple 404 error.
The main thing you can do to improve your visitors’ experience with 404 pages is to reduce the likelihood of them ever landing on a 404 page in the first place.
However, you should accept that you won’t be able to prevent all instances of your visitors arriving at a 404 page on your website, so your secondary goal should be to ensure that when they do, the 404 page is well designed and useful.
To avoid negative user experiences, you need to create and verify user-friendly URLs on your site. Users should be able to find exactly what they’re looking for without difficulty, regardless of whether they use bookmarks or search function to revisit pages. Identifying and fixing 404 errors is one way of minimizing those frustrating redirection messages that users may see when visiting your site.
Let’s look at how you can improve your site by finding and removing 404 pages.
Find Broken Links
There are several tools available to assist website owners in quickly and easily identifying all broken links that are serving 404 errors on a website. Even better, many of them are free.
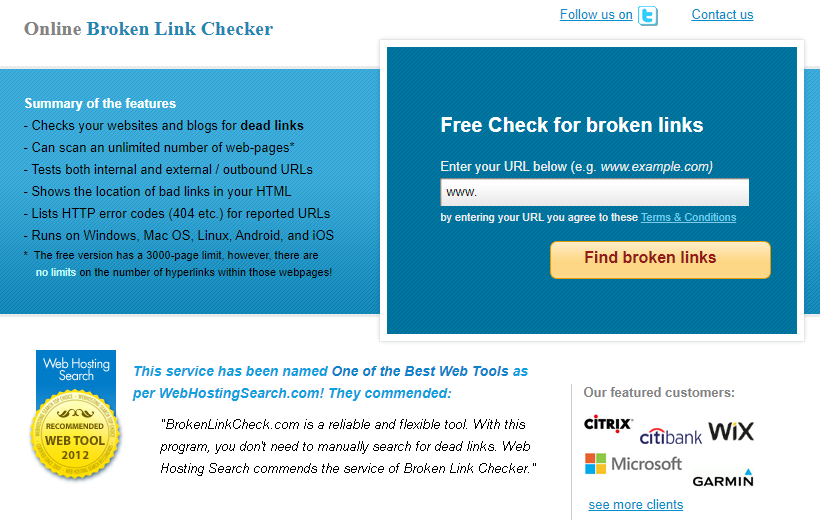
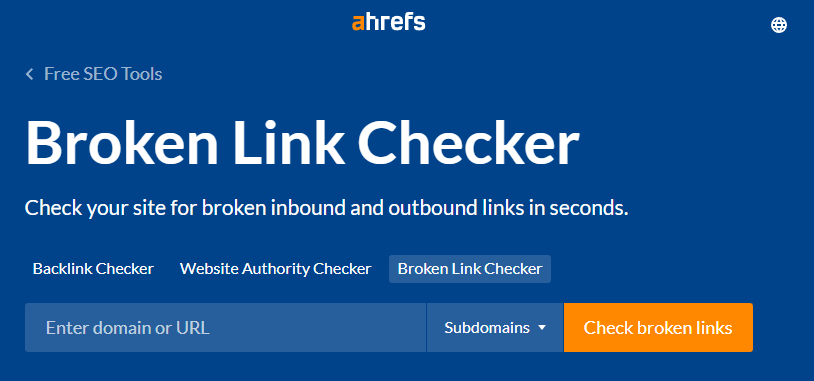
Online Broken Link Checker
A variety of websites offer free tools for locating broken links. All you have to do with tools like Broken Link Check, Ahrefs Broken Link Checker, and Dead Link Checker is enter your website URL and wait for the website to scan the site for you.

WordPress Broken Link Checker
You’re in luck if your website was built with WordPress! WordPress has a plugin specifically designed for this purpose. The free Broken Link Checker plugin will monitor your website’s links, compile a list of those that don’t work, and make it simple for you to edit or unlink each one.
One disadvantage of using a plugin such as Broken Link Checker is that it can temporarily slow down your site while it is active, so keep that in mind when deciding what to use.
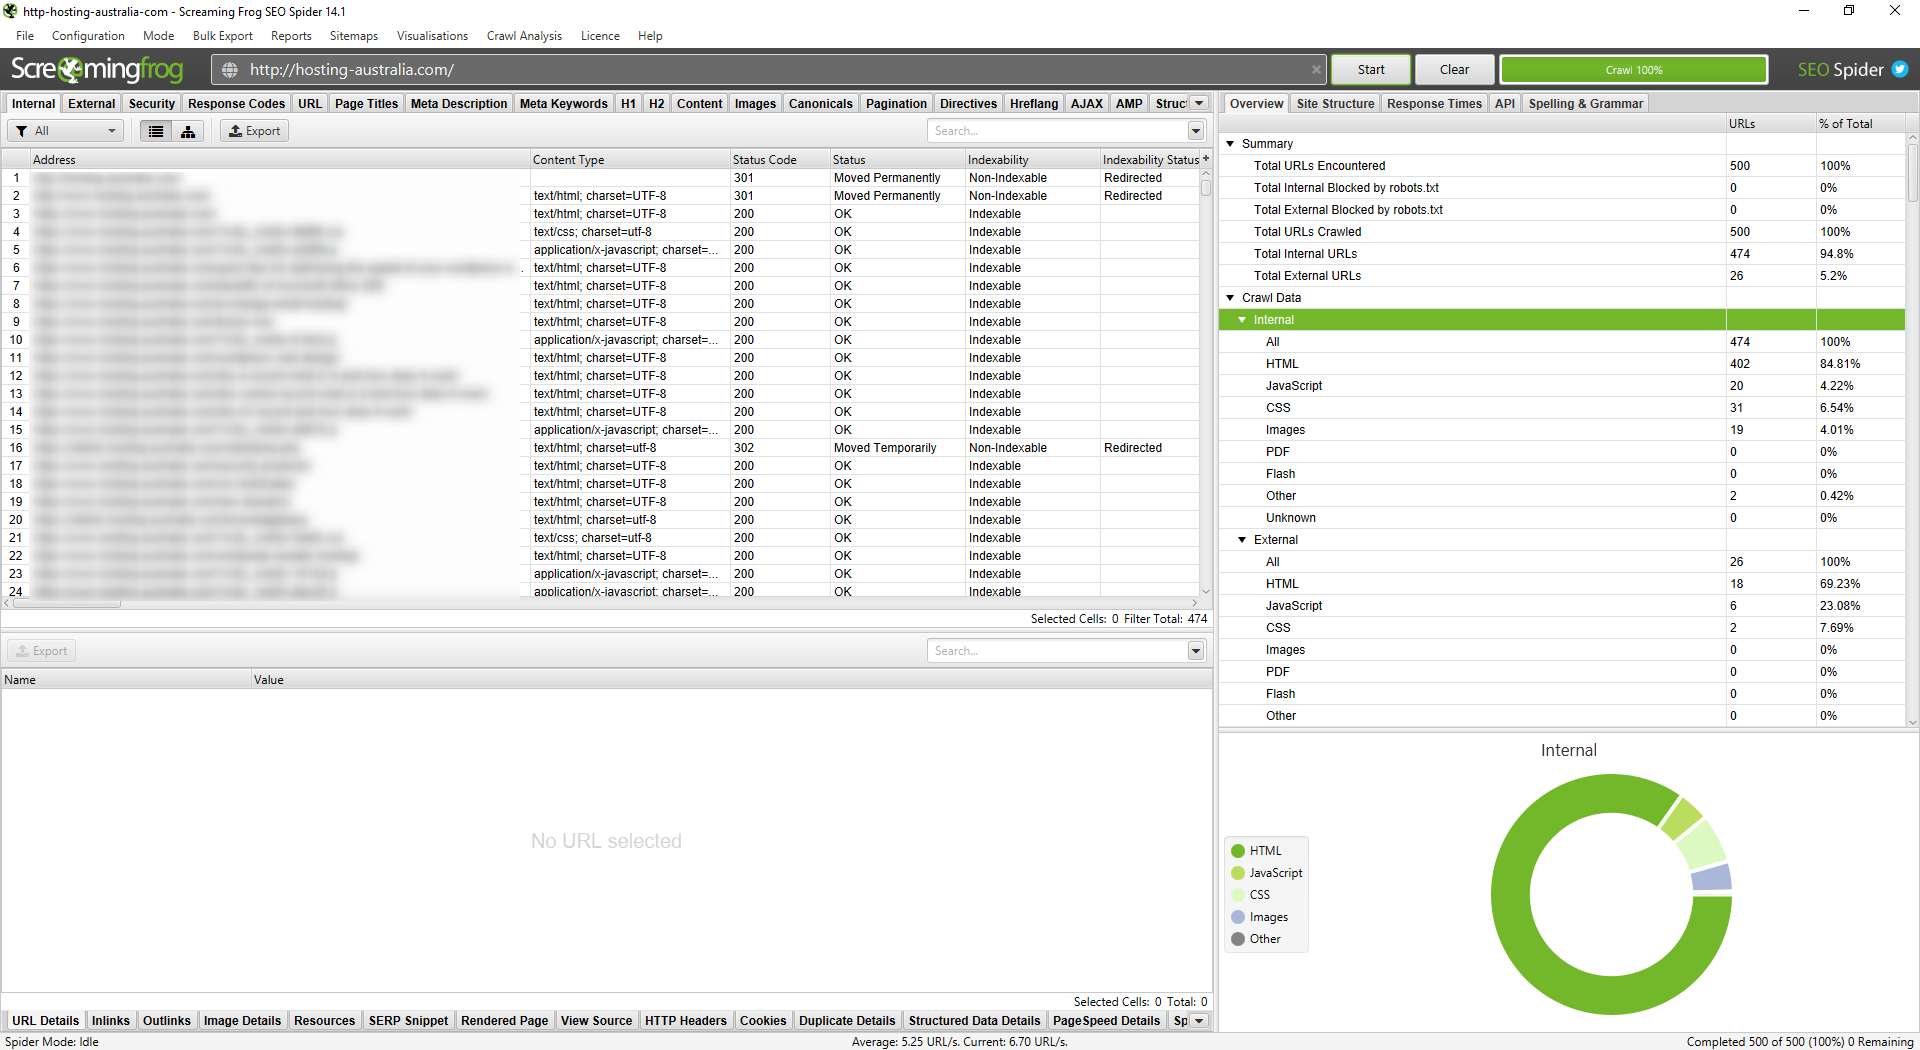
Find 404 Pages with SEO Spider
Screaming Frog’s SEO Spider tool will crawl your website and automatically identify a variety of issues, including broken links. It is also free to use for websites with fewer than 500 pages. To use SEO Spider to find broken links, you must first download the tool. Once you’ve downloaded it, simply enter your URL and press the Start button. Crawling your entire website may take a few minutes.
Broken links can be viewed by selecting Client Error from the Response Codes menu. Locate the link on your website by clicking on it and then selecting Inlinks. Choose Bulk Export, Response Codes, Client Errors to get a list of all your broken links in spreadsheet form (which can help you tackle the project of fixing them). Inlinks.
Fix Broken links
Once you’ve compiled a list of broken links, the difficult part begins. You must go in and repair each one. Determine which links require an update and which should be removed entirely. Track your progress as you go to avoid missing any, and open each web page to double-check the updated link before moving on to the next.
This takes time, but it ensures that your website visitors have a better experience. It’s best to do this once every three months or so to fix any new broken links as soon as possible. And the more you do it, the less work you’ll have to do each time. If you’re lucky, you’ll notice the broken links before anyone else.
Update your 404 Page
Even if you check for broken links on a regular basis, there will be times when you miss one or when users enter a URL incorrectly. Whatever you do, some of your visitors will almost certainly end up on your 404 page. So, take advantage of it when they do.
Maintain consistency.
To avoid confusion, you want people to know they’re still on your website when they land on a 404 page. Many brands continue to use generic 404 pages with no branding and no visual connection to the rest of the website.
How to Make Changes to Your 404 Page
If you’re convinced that it’s time to create a custom 404 page for your website but aren’t sure how the technical side of updating your 404-page works, you shouldn’t have too much trouble figuring it out.
If you use WordPress, you can either follow these instructions or try a plugin like this one.
Otherwise, you can create a custom 404 page via your cPanel with these step-by-step guides.
- Login to your cPanel account.
- Find and click on the icon for Custom Error Pages.
- Select 404 Wrong Page from the list.
- You’ll see a page with a text box. Fill this in with the HTML code for the page you want to appear.
- Click Save.
- Navigate to a fake URL on your website to check that your update worked and that you like how it looks. (You can usually create a fake URL by adding a random letter to the end of the real one, for example http://your-site.com/a).
Conclusion
Businesses put in a lot of effort to get people to visit their websites; the last thing you want is for that effort to be wasted because a customer bounces after landing on a generic 404 page, so make sure your site is free of broken links.
