

What to Check Before Moving Your Website to Cloudflare
A quick checklist before you change your nameservers
Cloudflare can help your site, but the switch needs planning
Cloudflare is one of the most popular ways to add speed, security and a content delivery network to an existing website. The free plan includes fast DNS, a CDN, DDoS protection and a Universal SSL certificate, which makes it tempting for small business owners to try. The move itself is simple in theory: add your domain, copy your records, change your nameservers. In practice, small mistakes can take your website or email offline for hours. Here is what to check before you switch.
Understand what the switch actually changes
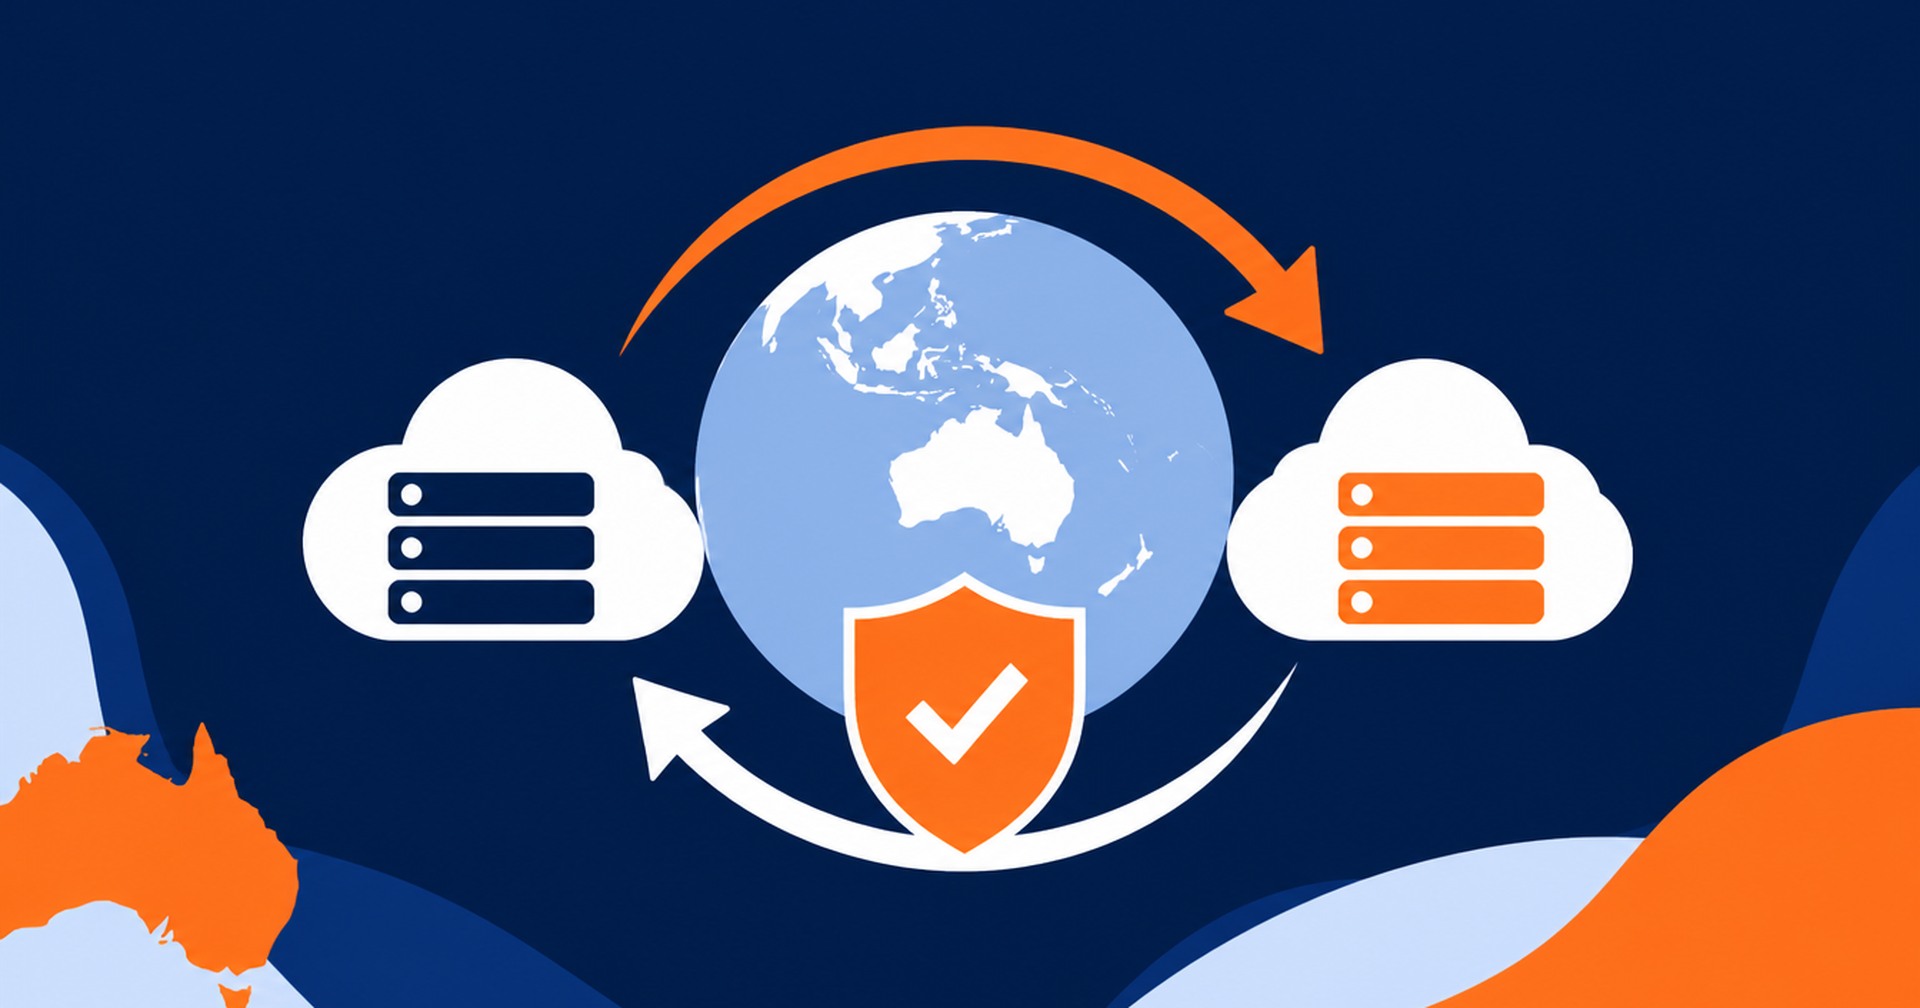
When you move your domain to Cloudflare, you are changing your authoritative nameservers at your registrar. After the change, Cloudflare answers every DNS query for your domain, not your old host or registrar. Your hosting itself does not move. Your website files, database and email remain exactly where they are. Only the signposts that point visitors and mail servers to your services change hands.
Export every DNS record before you touch anything
Cloudflare scans your existing DNS and imports most records automatically, but it does not always get every record right. Export your current zone file first, or copy every record from your hosting control panel. Pay attention to records that are easy to miss, such as TXT records used for email authentication, SPF and DKIM entries, CNAME records for third-party tools, and any records used by services like Shopify, Office 365 or Google Workspace. Compare the import against your export record by record.
Protect your email records
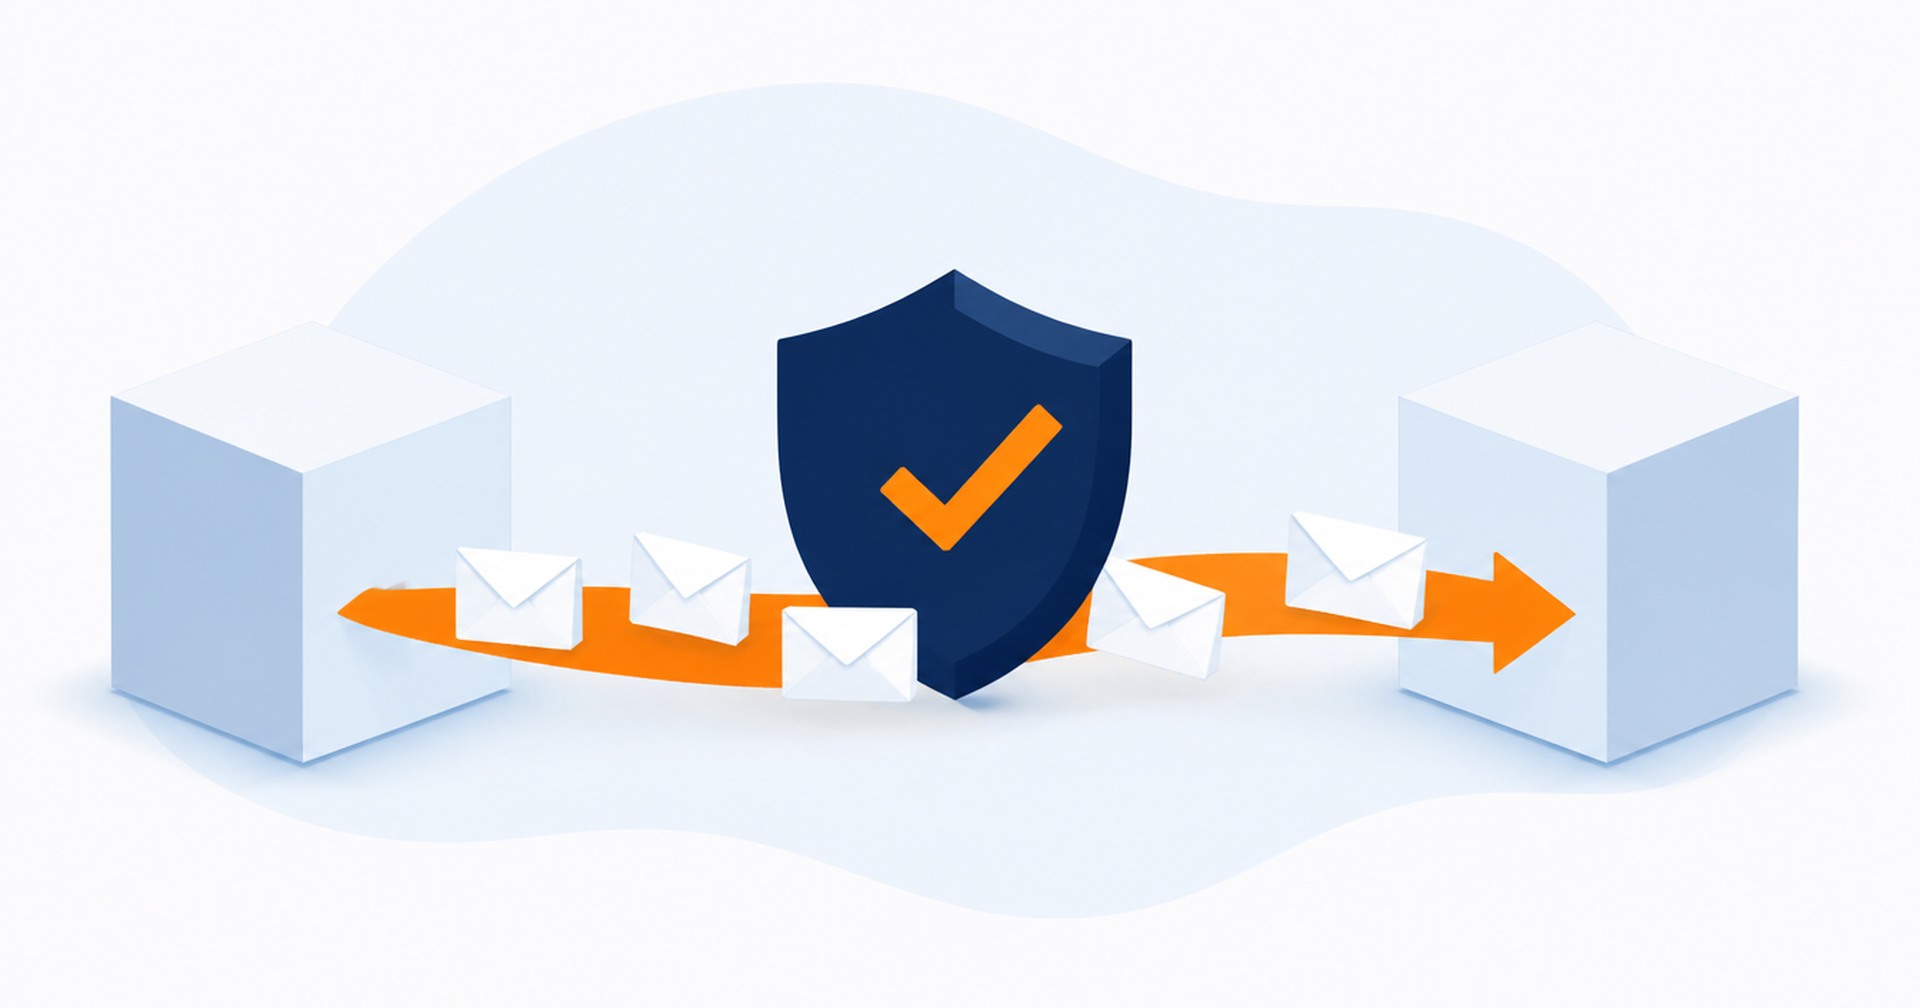
Email is the most common casualty of a messy DNS move. Your MX records tell mail servers where to deliver your mail, and they must stay DNS-only, which Cloudflare calls grey cloud. If you set them to proxied, or orange cloud, mail delivery breaks. Along with MX, keep your SPF, DKIM and DMARC TXT records intact, and verify them after the cutover. Send a test message to an external address and check your spam folder before you declare the move finished.
Turn off DNSSEC before you change nameservers
If your domain has DNSSEC enabled at your registrar, you must disable it before updating your nameservers, or your domain can become unreachable for everyone. The process is simple: disable DNSSEC at your registrar, wait for the change to clear, then update your nameservers. After Cloudflare has activated the domain, you can turn DNSSEC back on through Cloudflare and add the DS records it provides at your registrar. Skipping this step is the single most common way a Cloudflare move goes wrong.
Choose your SSL mode carefully
Cloudflare offers several SSL modes. Flexible encrypts traffic between the visitor and Cloudflare only, and is not recommended for most sites because the connection between Cloudflare and your server stays unencrypted. Full requires a certificate on your server, and Full strict requires a valid certificate that Cloudflare trusts. If your hosting already has a working SSL certificate, Full strict is the safest choice. If you pick a mode that does not match your server setup, you can trigger redirect loops or mixed content warnings, so test your site in each mode before going live.
Decide what gets the orange cloud
Each DNS record in Cloudflare has a proxy status. Proxied records, shown with an orange cloud, route through Cloudflare and gain the CDN, caching and security benefits. DNS-only records, shown grey, simply resolve normally. A common setup proxies your web records, such as the A or AAAA record for your domain and www, while leaving everything mail related grey. Anything that must connect directly to its origin, such as some third-party validation services, should stay grey unless you know the service supports proxying.
Plan for WordPress and caching
If your site runs WordPress, a proxied setup can cache your pages aggressively. Install the official Cloudflare plugin so that updates and new posts automatically purge the cache, otherwise you may publish content and still show an old version to visitors. You should also make sure your hosting records the real visitor IP from Cloudflare, usually via the CF-Connecting-IP header, so analytics and security tools see genuine visitors rather than Cloudflare addresses. Test logging into wp-admin and submitting a form before you announce the move.
Pick a quiet time and have a rollback plan
DNS changes propagate gradually and can take time to settle. Lower your TTL values on the records you are moving a day before the switch so the old values expire quickly, then change your nameservers at a quiet time for your business. Keep your old nameservers written down. If something breaks, you can switch back in minutes. After the cutover, test your website from a phone and a computer, send and receive email, and check your SSL certificate from a few devices.
When in doubt, get help
Moving to Cloudflare is a sensible step for many websites, but it touches DNS, email and security all at once. If any of this feels unfamiliar, ask your hosting provider to review your records before you switch. A few minutes of checking now is far cheaper than a morning of downtime later.
Australian Hosting Support



Newsletter Sign Up